Table of contents
- Why Film Photography?
- Selecting a Format
- 35mm SLR (Single-lens Reflex)
- Recommendations (old-school):
- Recommendations (new-school):
- Medium Format Film Photography
- Recommended 645:
- 6×6 Recommendations:
- Recommended 6×7:
- Large Format Film Photography
- It’s not easy being large
- Recommended for Large Format:
- Metering for film photography
- Developing
- Printing and Scanning
- The Film part of Film Photography
- Black and White
- Color Negative
- Color Positive a.k.a. Slide Film
- In Conclusion:
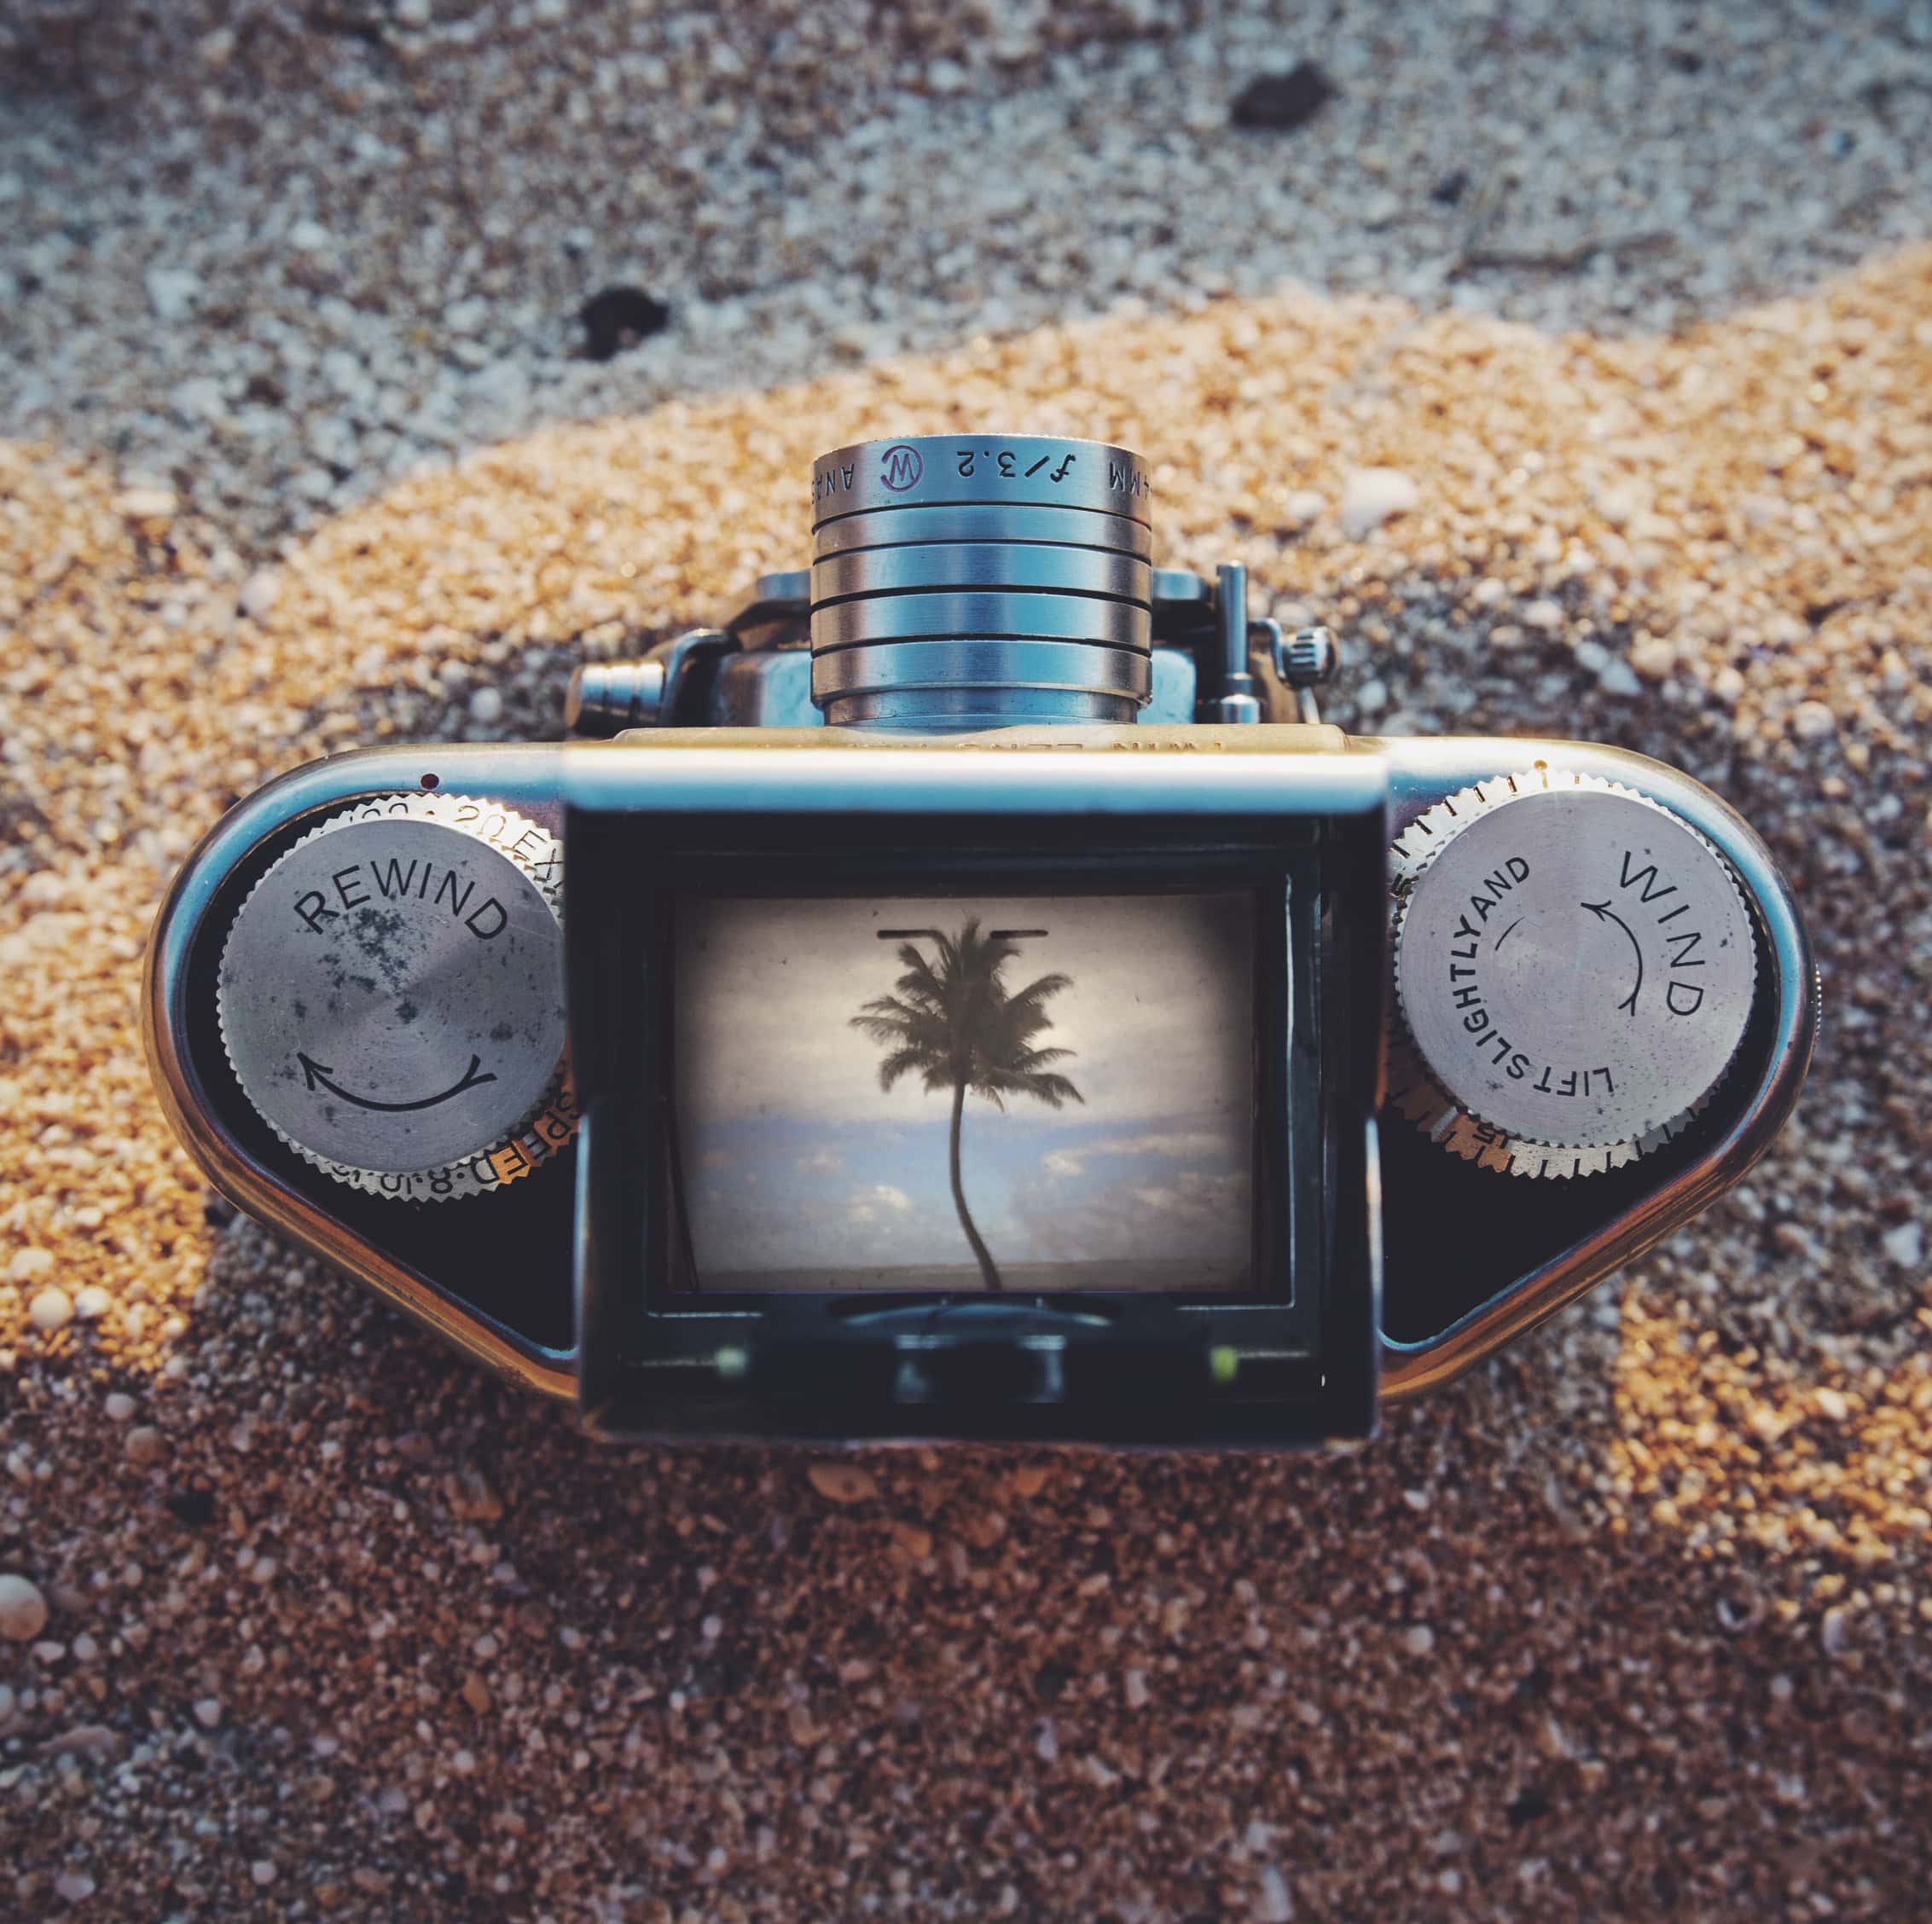
Why Film Photography?
Film Photography has exploded in popularity over the last 5 years. Young people that grew up in a digital age are discovering the magic of analog media. Although today’s digital cameras have extraordinary capabilities, some say there is no match for properly exposed film and printed pictures in the hand.
Selecting a Format
What type of camera is the right one? There’s not really a right or wrong answer. Many variables can effect what would work best in a situation and it really boils down to personal preference. Some work best with medium or large format because of the insane amount of fine detail in the negatives, but the trade-off is the heavy weight and bulky size. 35mm is the most popular format due to portability and ease of use, but a smaller negative means smaller prints.
35mm SLR (Single-lens Reflex)
The best thing about 35mm SLR film photography is the simplicity. You can pull the camera out of your pocket, click a button and the photo is taken. When you look through the viewfinder, what you see is what you get. You don’t need to set up a tripod or fuss with multiple pieces of gear to get the shot. Many bodies have a built-in meter and you get 36 pictures on a roll of film. 35mm cameras and lenses are also the least expensive and easiest to purchase and repair. One can find many incredibly sharp lenses for bargain prices and purchase gear that is in mint condition, even after decades of the cameras being out of production. 35mm lenses can also be easily adapted to modern digital and mirrorless cameras, so you can incorporate them into a complete system.
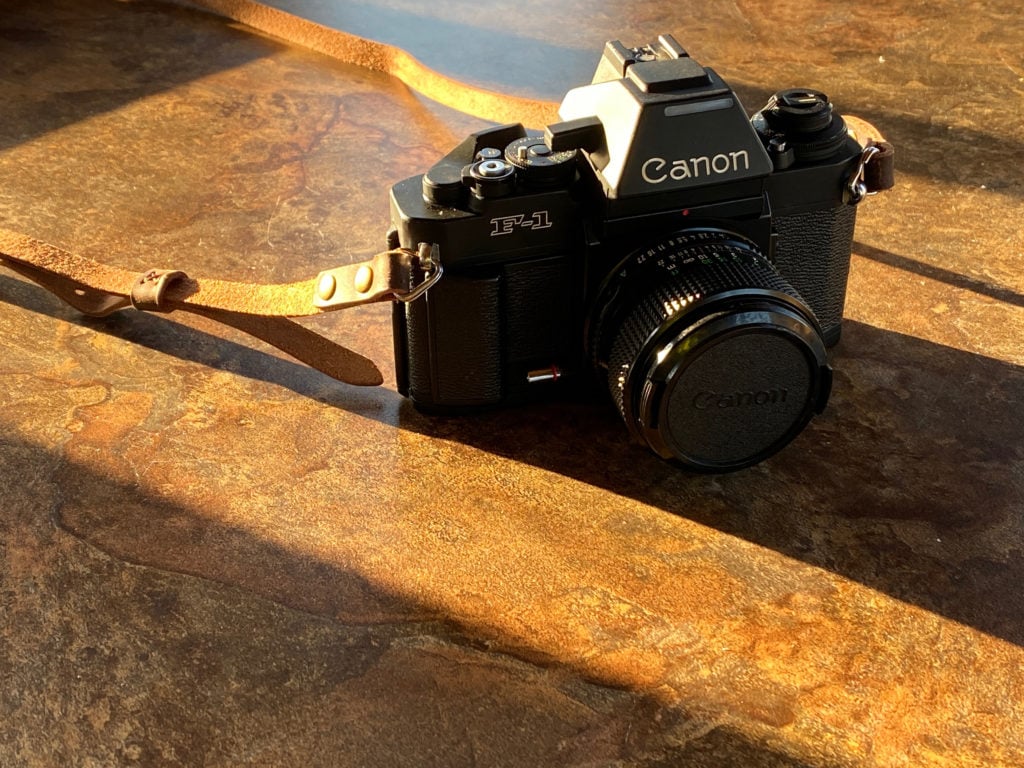
Recommendations (old-school):

If you are looking for a simple, rugged, self-contained system, the Canon New F1 is a solid choice. It has a good viewfinder, uses the Canon FD mount which features some spectacular lenses, has a built-in meter and is damn near impossible to break. The 50mm f/1.4 Canon FD lens is cheap and very sharp when stopped down between f/4 and f/5.6. The 20-35mm f/3.5 L-series lens is a great lens on the wide end for landscapes and the 80-200 f/4 is a nice complement for the telephoto range. One of the most amazing lenses I’ve ever touched—the 85mm f/1.2—is also available on this mount. It is an absolutely magical portrait lens. Any of the f/2 prime lenses (24mm, 28mm, 35mm) are also prized for their sharpness and image quality.
Recommendations (new-school):
Do you already own Canon EF lenses? You can throw them on a film Camera too! Any of the Canon EOS bodies utilized the newer EF mount, so you can slap your professional digital lenses on a $75 Elan 7 or EOS 1 body and still get stunning images—with autofocus, auto exposure and aperture priority! It almost feels like cheating and not like traditional film photography. Nikon also has the ability to accept newer, auto-focus lenses on older film bodies, so if you have a Nikon “D” lens (they have manual aperture rings), you can use it to shoot film as well.
Medium Format Film Photography
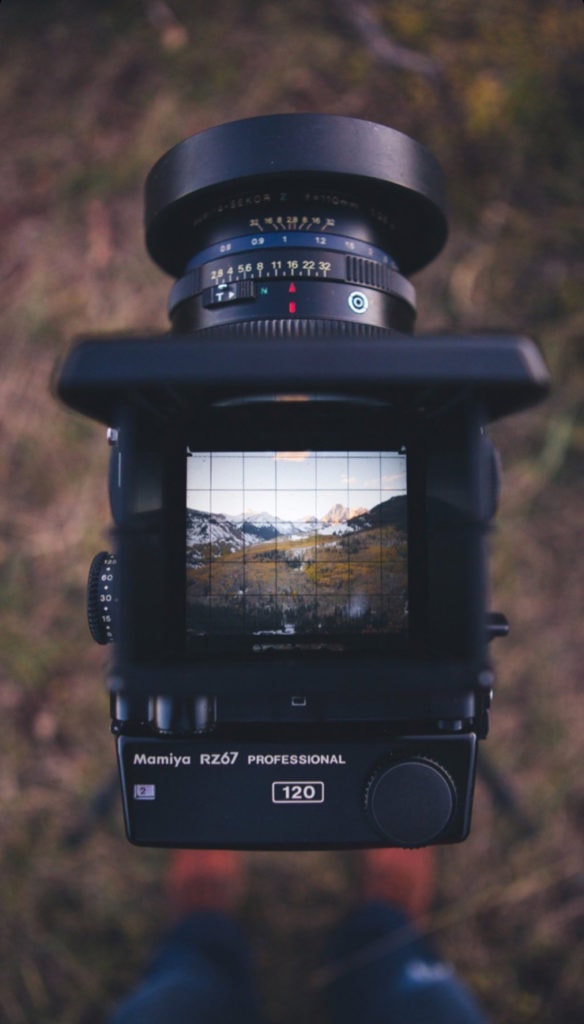
Medium format gives you a negative that is roughly twice the size of 35mm. This means much greater detail, shallower depth of field and much larger prints. Cameras come in a variety of formats: 6×4.5, 6×6, 6×7 and 6×9 are the most popular. The downsides to medium format film photography is that these cameras and their lenses have to be much larger to accommodate 120 film. Packing them out for long hikes can be a pain. You also only get 10-16 shots on a roll of 120 film, so it’s costly. Many medium format cameras use a waist-level viewfinder that show you the image backwards and it’s difficult to get used to composing that way.
Recommended 645:
Both the Mamiya 645 and Pentax 645 offer TTL (through the lens) viewfinders and relatively simple controls. The Pentax 645N and Nii offer autofocus and are seriously durable. They even offer zoom lenses that are good for landscapes. The 75mm f/2.8 is a great normal lens with shallow depth of field and is very sharp.
6×6 Recommendations:
The Hasselblad 500cm system is the best of the 6×6 breed. It uses Carl Zeiss lenses which are world-renowned for their image quality. The system itself is relatively small and light as well. You can change out the film back mid-roll, meaning you can switch between color, different ISO and monochrome films mid-roll. The Zeiss 80mm f/1.9 has amazingly shallow depth of field and is extremely contrasty and sharp.
Recommended 6×7:
The Mamiya 7/7ii is smaller and feels like a 35mm camera but delivers the sharpest images available from medium format. The lenses made for it are among the best in the world.While expensive ($2-3000), the system is worth every penny. Fun fact: these are rangefinder cameras. The image you see in the viewfinder is not the same as what you get on the film. There are frame lines for each focal length imprinted inside the viewfinder and you use the different frame lines to compose depending on which lens is attached. These cameras also use leaf shutters instead of focal plane shutters, so you can sync a flash at much higher shutter speeds if you need to. Worth noting: the 80mm f/4 lens is one of the sharpest ever made for any camera system and is highly sought after.
Large Format Film Photography

Large format film photography (a 4×5) used to be the go-to for professional studio and landscape photographers alike until the time of digital. It is still used by many today because of the unparalleled image quality and extremely fine detail. These cameras produce a negative that is at least the equivalent of 700 digital megapixels in size and can easily best the most expensive digital camera systems today.
It’s not easy being large
The downside is they are massive, heavy, slow, and require an intimate knowledge of metering, exposure, and procedure. You almost always have to use a tripod and the image is projected into the ground glass “viewfinder” upside-down. You also need to compose and focus with a loupe while under a dark cloth. Depth of field can be insanely shallow, so you have to be very precise when focusing and it’s not always easy. If print quality is your top concern, there is no substitute for a large format system. They are simply the best. Crop factor is also roughly .3, so a 65mm lens would be equal to a 21mm lens on full frame! A 150mm lens is considered a “normal” lens on large format.
Recommended for Large Format:
Intrepid is a newcomer to the industry and they specialize in making inexpensive but sturdy 4×5 and 8×10 cameras. If you understand how large format photography works, they are easy to use, light, and durable. Large format lenses are always incredibly sharp, so it really boils down to how wide or narrow you want your image to be. Lenses range from 65mm at the widest to 500mm for telephoto. There is no standard mount, all lenses are mounted to a lens board which goes into the front of the bellows. The shutter is built into the lens as well. You will have to meter manually; some prefer to bring a digital camera to meter while others use a traditional hand-held spot meter.
Metering for film photography
Metering itself is the process of measuring light and calculating camera settings to properly expose your image. Many people take it for granted in the digital age because you can just snap away and then look at the back of your camera to see how your exposure looks. Mirrorless cameras make metering obsolete with electronic viewfinders that automatically show your exposure. With film cameras, unless you have a built-in auto-exposure function, you will have to meter each frame yourself to determine the right combination of aperture and shutter speed. Some older film cameras don’t have built-in meters, so you have to either get really good at eyeballing it or buy a handheld meter. Sekonic seems to make the most popular ones. Phone apps also work but are less reliable.
Developing
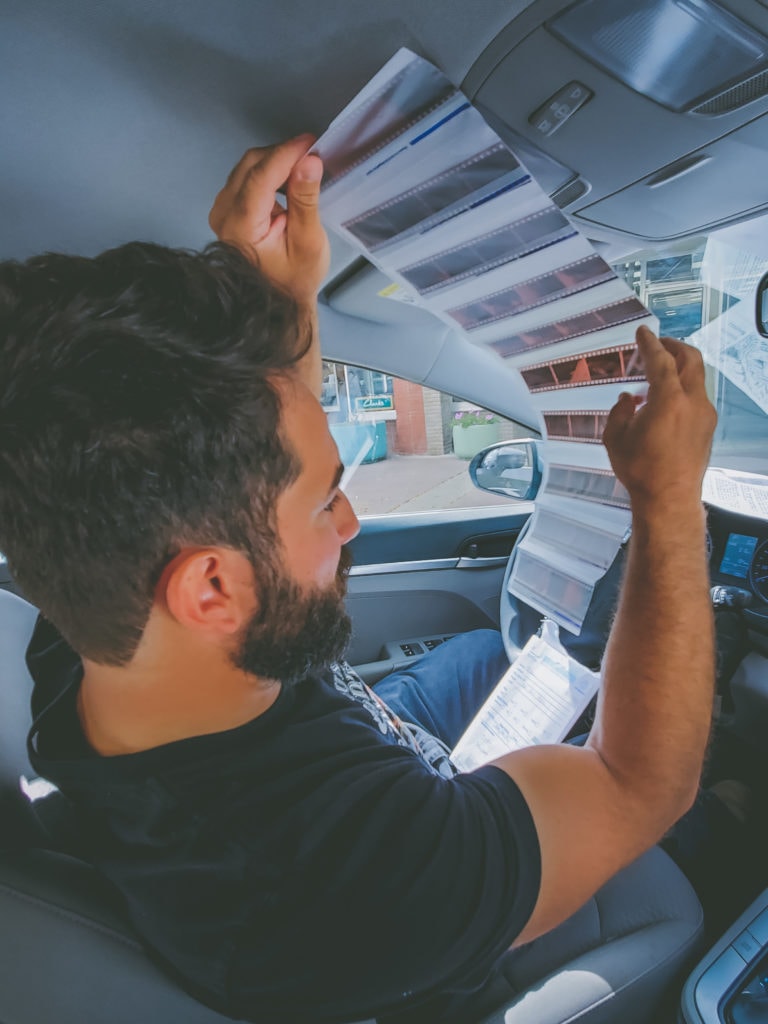
Self-developing is a time and material-intensive process that requires a lot of space and a whole lot of extra stuff. If you are more of a casual shooter or not looking to sacrifice living space, it is much easier to find a local developer or send your film away in the mail to get developed by professionals. The Dark Room has been providing these services for over 40 years and are known for doing a fantastic job with film of all shapes and sizes. Simply create an account on their site, pre-pay your order, ship your exposed film to them in pre-addressed mailer bags. In a few days time they have full-size scans up in an online gallery for you. Your negatives/prints/scan disks arrive shortly after in your mailbox.
Printing and Scanning
This is the part where the film format you choose matters. If you plan on printing larger than 16×24, 35mm film will not cut it. If you plan on printing larger than 24×36, you will need to shoot large format. The type of scan you purchase will also effect the image quality unless you are sending the negative directly to your printer to work from. You can select “regular” or “upgraded” scans from your developer, but for drum scans are the best by far. You would be shocked at how much fine detail you can pull out of a 4×5 negative on fine-grain slide film. A 700 megapixel equivalent is not out of the question. You could conceivably print a billboard-sized mural (18×60 feet) from a well-scanned large format negative.
The Film part of Film Photography
While the lens is what makes the image and the camera is what gives you the means to capture it, the film is where you have some latitude to get creative. Knowing how your film works and how to manipulate it gives you a great deal of control over the final image. Strategically underexposing or overexposing can give you a certain aesthetic and bring your final images to life. Knowing how to do this separates the artists from the amateurs.
Black and White
Black and White- Black and white is exactly what it sounds like. There are no colors and you get a simple range black, grey and white tones to work with. You have to train your eyes to see in black and white in order to get good at shooting with it, but after some practice, it is very doable. These types of film are also simple to develop and can often times be developed at home with few chemicals and accessories.
Color Negative
This is the type of film most people are familiar with. It is less expensive, easier to use, and has a wider dynamic range; meaning you can capture more detail in the shadows and highlights without blowing out your brights or losing your darks. It is a bit more forgiving because of this, and even if you over or underexpose, you will still get a well-exposed picture. Kodak Porta and Fujifilm 400h are popular choices.
Color Positive a.k.a. Slide Film
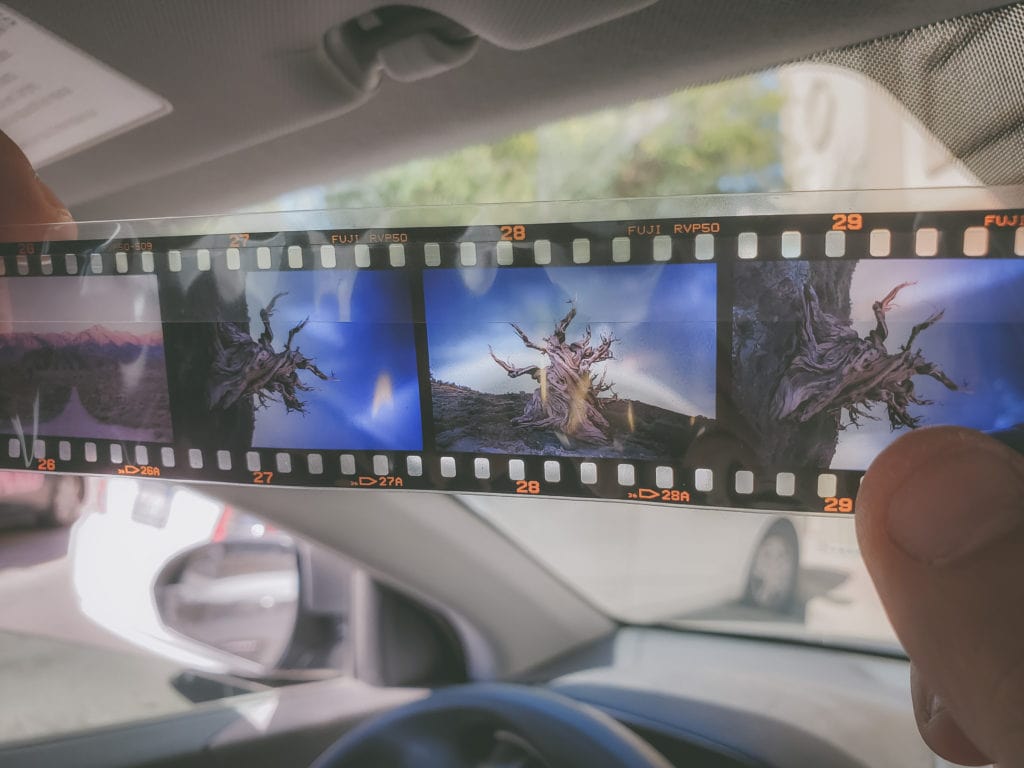
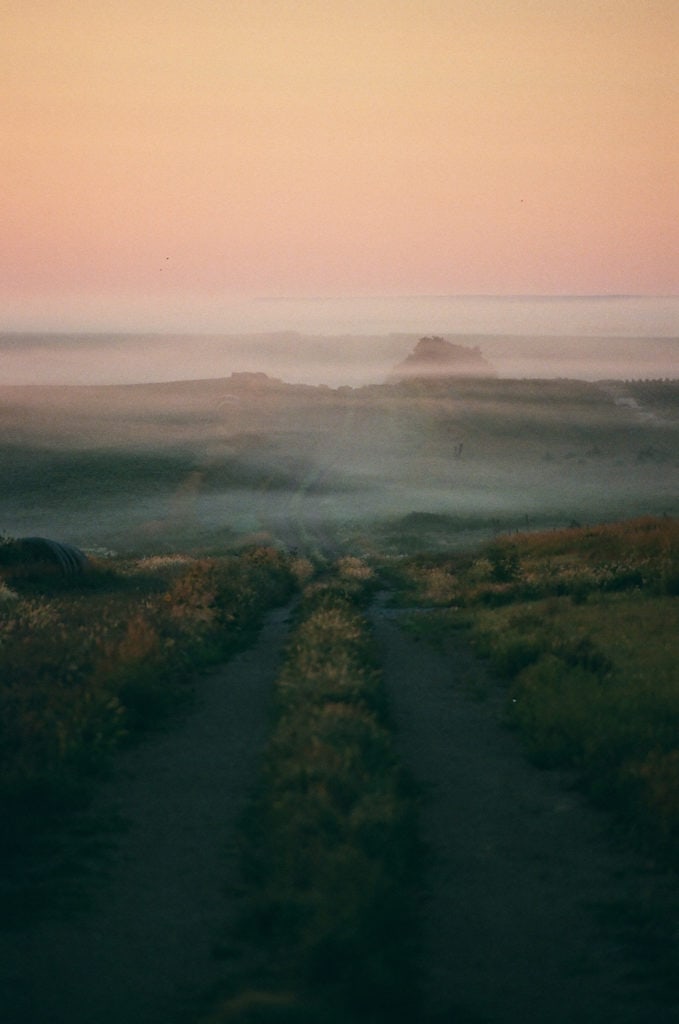
Slide film is developed with a slightly different process (E-6 as opposed to C-41 for negative film) and when you receive your “negatives” back from the developer, they are in full color. It’s also set with lower ISO and finer grain so you can pull much more detail out of it. Fujifilm Velvia 50—while expensive—offers beautifully saturated colors and extremely sharp detail that is virtually unrivaled by anything else. The downside to slide film is that is has a very low dynamic range (5 stops for Velvia 50!) so you have to shoot in very even light or you risk blowing out highlights and losing shadows. The best place to slide film is in a controlled environment or just before sunrise/just after sunset outdoors.
In Conclusion:
This will be the first piece in a series of pieces about film photography. The next will go more in-depth about different types of film and how to use them, as well as the different types of looks that a photographer can achieve with each.
Any excuse to pull out the 4×5 is a good one which is why Seeking Venture Photo offers film portraits as an add-on service to our elopement packages.
You can view more film examples in our online gallery.


I have really been thinking of learning film and I can’t wait to read more on this series of yours. I would be starting from scratch and really could use. the breakdown for the different formats.
What a great roundup for the film photography landscape! Although digital technology is very advanced today, film still remains a great expressive medium that is still well suited for specific purposes.
I am a videographer but I still shoot 6×6 and with polaroid land cameras in my free time. Love this type of post!
Wow this is such a thorough guide to film! I love it.
I enjoyed reading this so much and I can’t wait to read the next blog with film photo examples!! Thank you for writing this great resource, you really know a lot about it!
Ahhh this is so helpful! I’ve been wanting to get into film photography, so this is the perfect blog post for me.
Great guide! I learned a lot of new things about film photography. Thank you for sharing!
Love film so much! Thats what I learned on and I am slowly trying to get back in to!
Fantastic information and some great information here! Film photography is such a beautiful medium and this is such a helpful guide for getting into it / learning more. Thanks for posting!
Such an insightful and info filled post! Thanks for all the tips! I learned on film so I love seeing that this art is still very much alive and well today!
wow! You are just amazingly brave to do shoot with film! Impressed!
Such an awesome blog!!! Film seriously changed the way I photograph anything and I love it!! Your photos are stunning!!
I also use The Dark Room and have been super impressed by them for years. This article is RICH with information that is so useful for people trying their hand at film photography.
What a cool post! I love film photography and this overview and these photos are perfect! What a great idea.
WOW! This is packed full of information about film photography! I’ve dreamt about dabbling in it for some time but wasn’t sure how to start, this is an amazing resource!
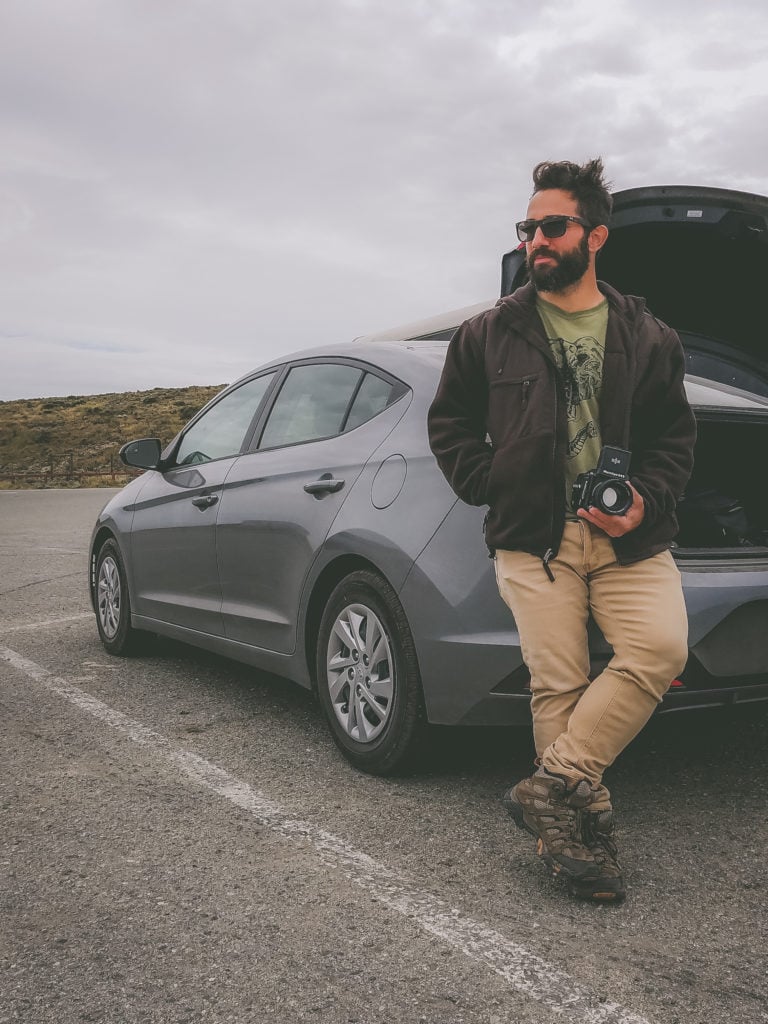
This is so cool and very handy. The pandemic forced me to leave my film camera at my other home, so it’s been too long. Looks like you got to test one out at Lone Pine?
Gosh all this talk about film makes me miss the dark room, even the smell of developer!
Ooh bookmarking this! I haven’t used film in years and I have so many cameras that I’ve collected! Thanks for putting this together!
This is awesome!!! Such a helpful guide to film photography!
Wow, this intro is so helpful! There’s just something you can’t replicate with ‘film-inspired’ presets as the real thing. I especially feel this comes out at blue hour.
I so often see references saying film is dead, but this article definitely proves otherwise! All photographers should learn the art of film photography.
Film is such a daunting and cost-prohibitive thing to get into, but this guide helped sort out some of my confusion! Thanks for writing it!